Wednesday, 8 July 2015

Erect frame & install roof trusses

We found this stage to be the most rewarding yet - finally the house rises and starts to take shape. Below is a photographic journey though this stage.

If only the tradesmen could start the job and be on-site everyday till completion - it would be so quick! The progress everyday they are on-site is amazing.

Day 1 - 9.20am
Day 1 - 2.20pm
Ground floor frame, a lot of the cladding and joists done, as well as the starting of the upstairs floorboards.

Day 2 - End of Day, End of Week 1
Upstairs floorboards done, a lot of the steel installed. Second storey frame delivered.

Day 3 - End of Day
Second story frame erected, cladding done, balcony and alfresco form-work started. Roof trusses delivered and installed above rumpus. 
Day 3 - End of Day
Day 5 - End of Day
Roof trusses completed including Garage & Alfresco. Balcony flooring done. More steel beams installed. Lots of wood everywhere!

Day 5 - End of Day

Day 5 - End of Day

Day 5 - End of Day

Sunday, 28 June 2015

Frame & Steel delivered

The last 3 weeks have really tested our patience - we had not had a single workman onsite and only a few days of rain!

My first call call to our site supervisor on Tuesday was great - he seems like a friendly guy and immediately lifted our spirits with the news the frame would be delivered the day after, followed closely by the steel. He said the erection of the frame should start before Wednesday next week and that he was aware  the pace needs to be lifted due to the delays we have experienced.

We stopped by the site early Thursday morning which just happened to coincide with the delivery of steel and our SS being onsite. It was great to meet him for the first time and have a walk onsite.

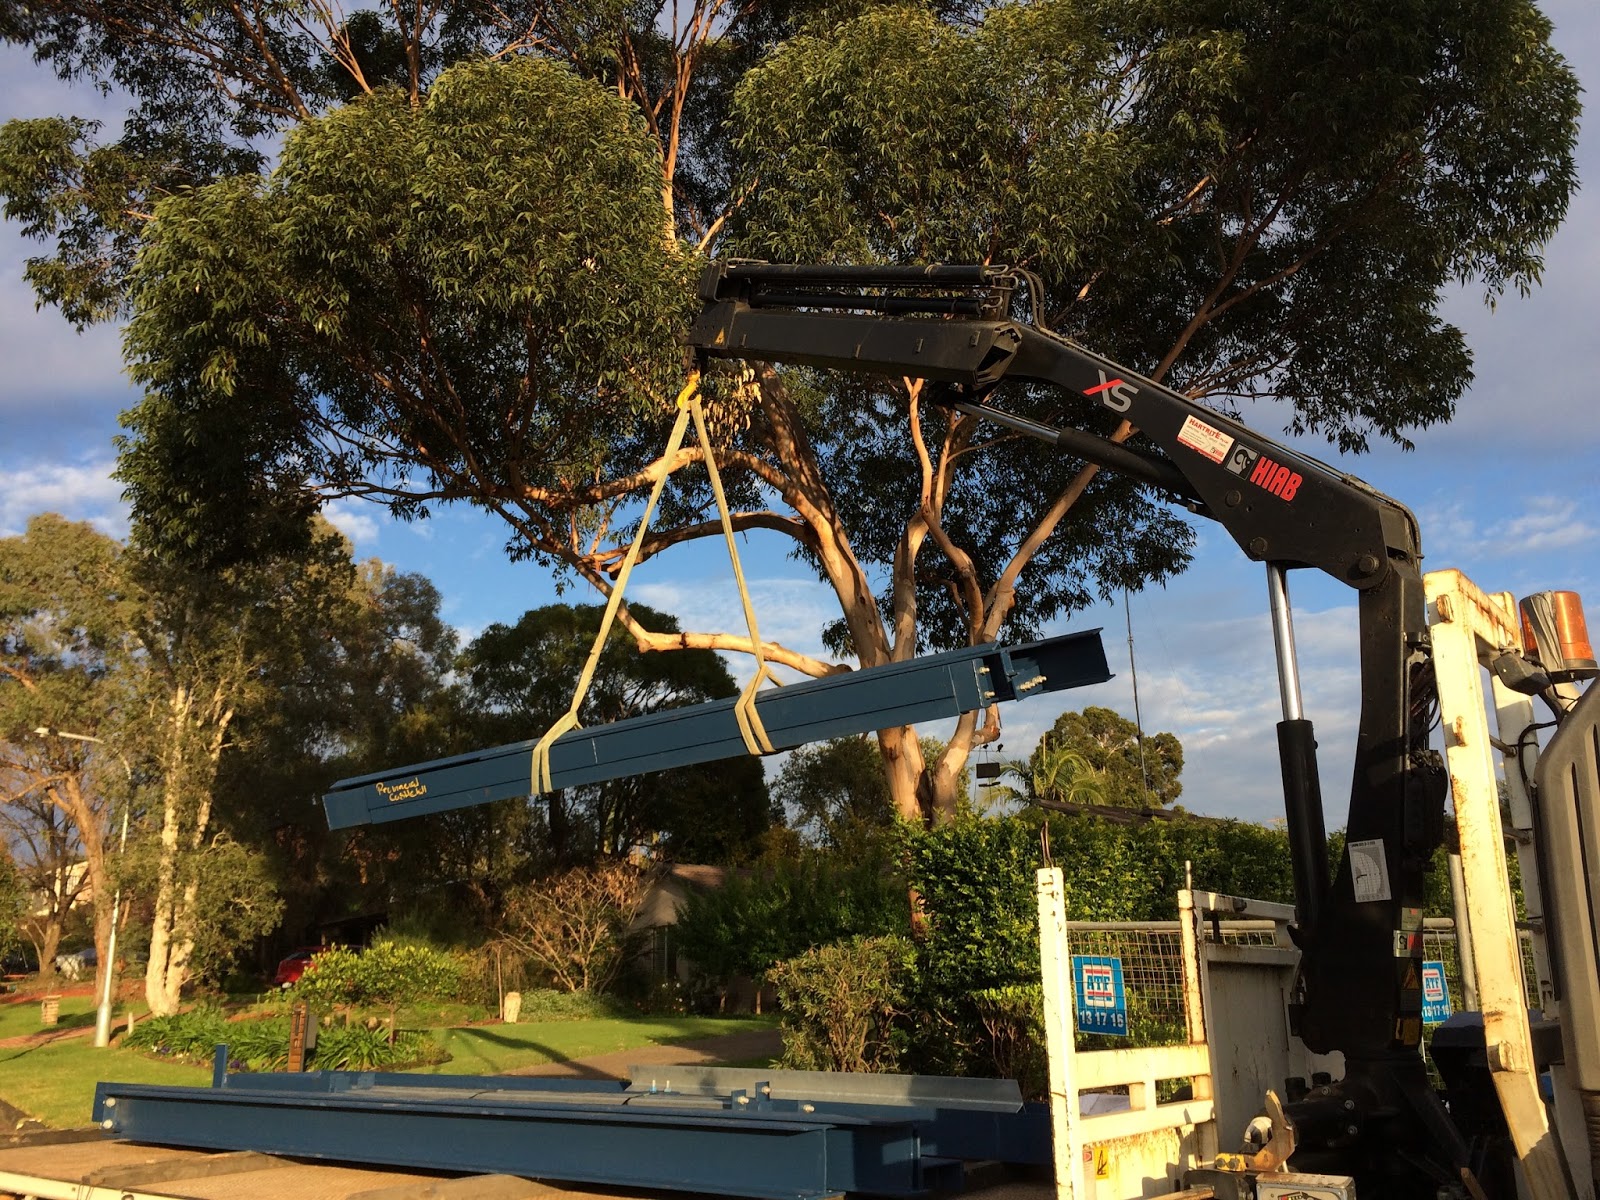
I hadn't really paid attention to the quantity of steel in the engineering plans for the house, but it was amazing to see the amount of steel delivered - I thought the truck had multiple deliveries to make, but it was all ours! There are 19 beams, with the largest being 6570mm long and many in the 5230 to 4215mm range.

We also got our long awaited quote for tiling upgrades when we visited the showroom after taking over 4 weeks! The quote was higher than we expected, though not surprising given the finishes we are after and the fact that the only tile selected within the builders range was the tile for the alfresco, porch, and patio areas.

Here are some of the pictures...


Monday, 8 June 2015

External Drainage Installed, Tile Selection

This week we had our tile selections at Di Lorenzo and the plumbers were onsite from Mon 1st to Wed 3rd June to do the external drainage.

We now seem to be in a holding pattern waiting for the steel and frame to be delivered and erected - hopefully this happens soon! Our site supervisor said the steel should arrive this coming week with the frame at least a week after that...  a disappointing delay.  

A nearby house has been at the same stage as us, including having the slab poured on the same day. They now have their frame up including steel work... I guess we don't expect Provincial to be the fastest as quality is the main consideration for us, however we are closely tracking the contract period and the rain days. Having it completed within the contract time is important to us as we are paying rent while this is being built and we are held to all the contract points from the builder - they apply both ways! The liquidated damages that apply after the contract period will at least pay the rent during delays. 
  

Tile Selection

I had been dreading the tile selection appointment as I had found the tile selection harder than any of our other selections made so far. Although we are going with wooden floors (Blackbutt) throughout, we still have a fair amount of tiles in our extended alfresco, porch, balcony, bathroom, wc, ensuite, powder, and laundry - with a lot of these being floor to ceiling tiles.

We had a few ideas but went early to have another look on Sunday 31st. It ended up easier than I expected! Isabelle our selections consultant helped immensely. Our selections are now with the estimator who will hit us with the excess charges given all but the external tiles are outside the builders range (di Lozenzo's green range), and will be extra.

In the end we made the following selections:-

Wall and Floor tile throughout - 300x600 DC1654 (same as the Woollahra showroom) with 1.5mm spacing to match the wall.

Main Bathroom feature tile to bath wall and back of shower niche - Infinity Silver Modular a natural stone feature tile used in the main bathroom of the Woollahra showroom. This will look much greyer when sealed.

Ensuite feature tile to the wall behind the freestanding bath -  White Quartz Stacked Stone. I loved the rugged natural spa look this gave!
In the shower niche we used a DL10326 a glass and stone mosaic tile as the Stacked stone could not be used in the shower.

Powder feature tile was the natural split PLVS Fussana - a natural stone on the vanity wall.

For all external tiles in the alfresco, porch, and balcony we chose a 450x450 ceramic DC2623 Grey External tile


External Drainage work

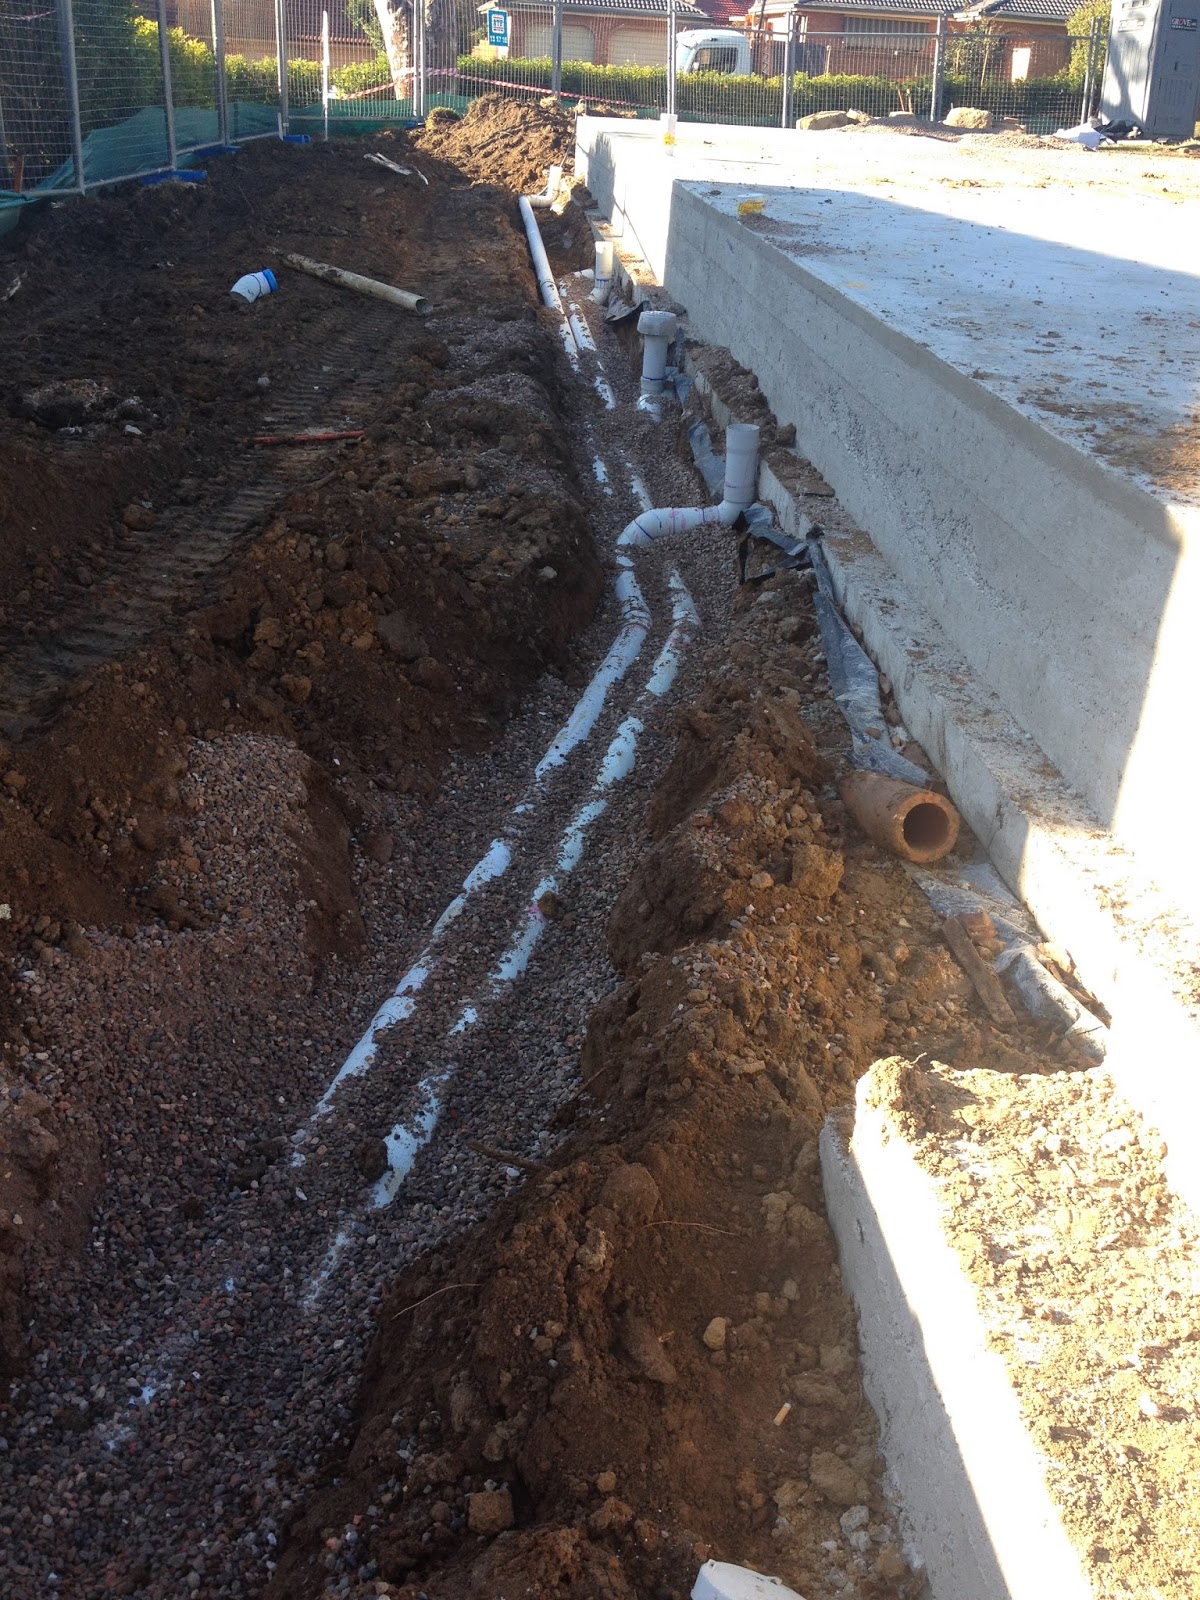
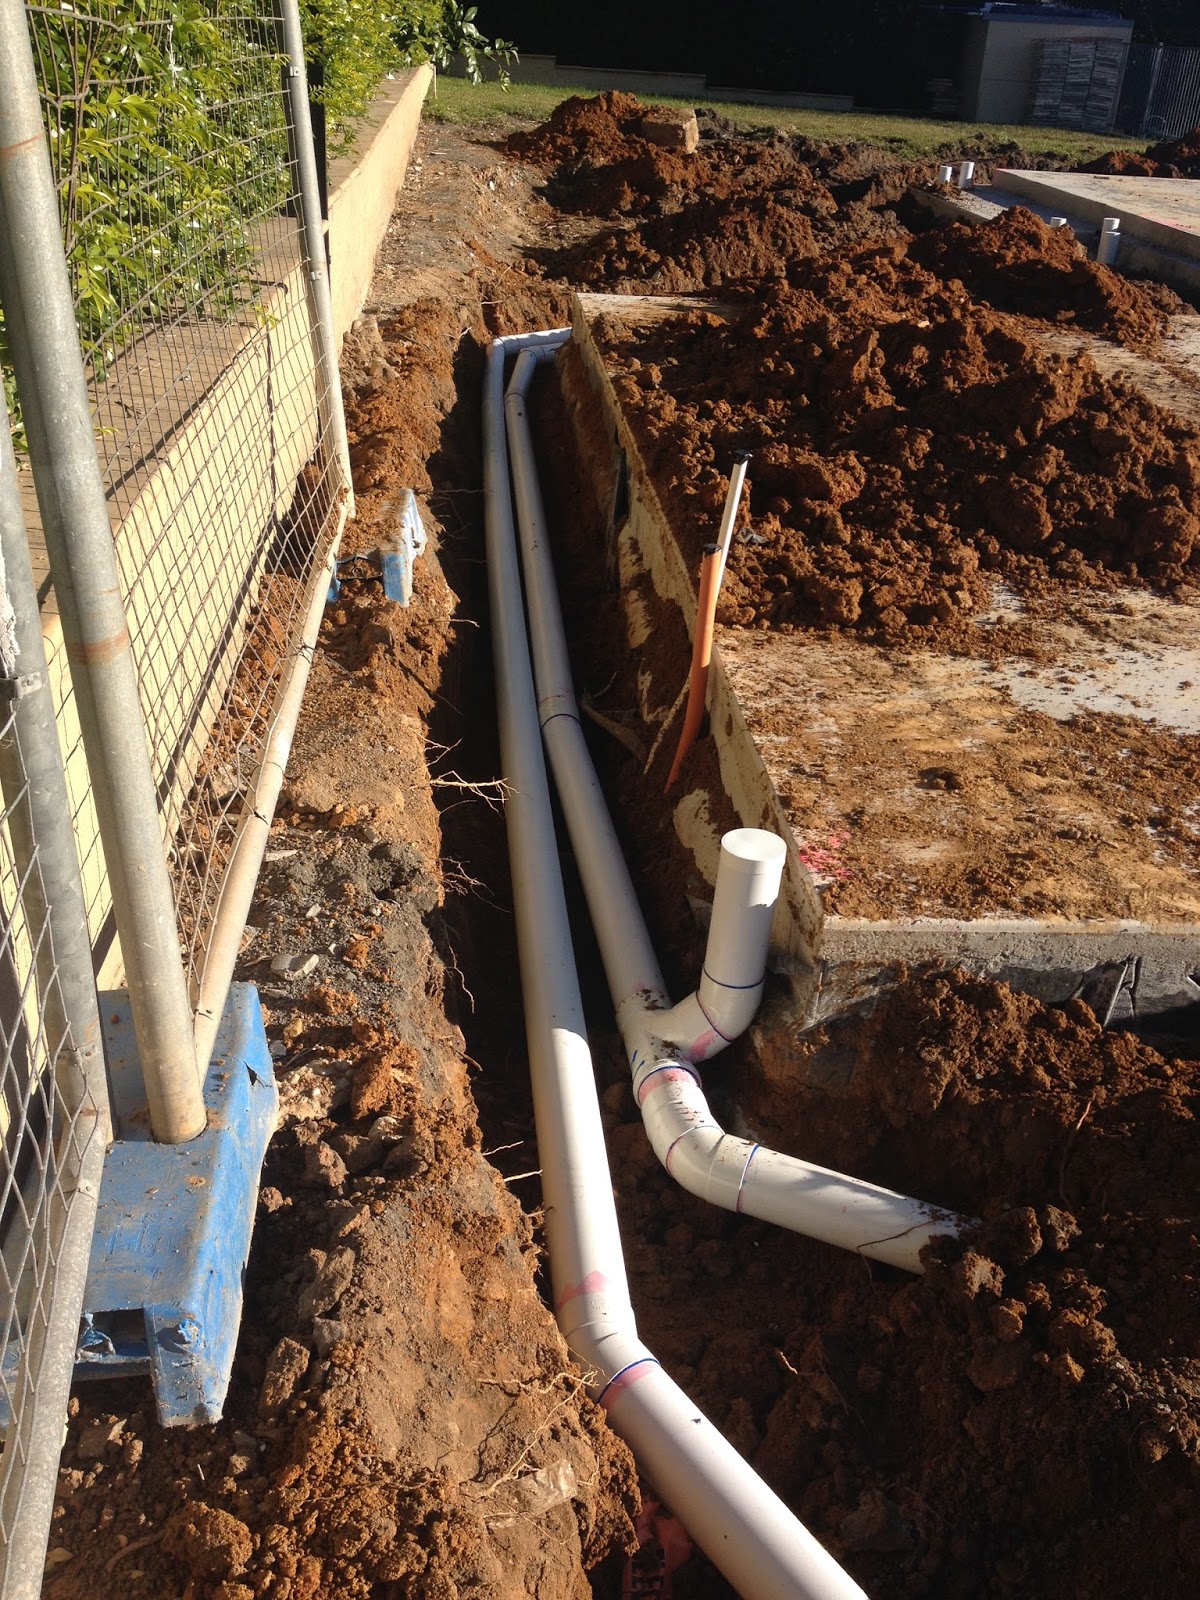
All drainage from the slab was fitted off and connected to the sewer, and the stormwater connecting the downpipes locations to the rainwater tank and overflow to the street.

We had one unexpected cost with the plumbers having to put a camera down the sewer where they connected to the older clay pipes just to check they were OK. Hopefully this will not cost much - cameras down pipes are pretty common aren't they?

All the pipework has been covered over again now by a bobcat, but here are the pipes just after installation:-


Northern side - Stormwater & Sewer

Southern side - Stormwater and Discharge from the rainwater tank to street


Rainwater tank pipework

Front Downpipe connections

Connection to the sewer with Pool Discharge above

Thursday, 21 May 2015

Concrete Slab Poured

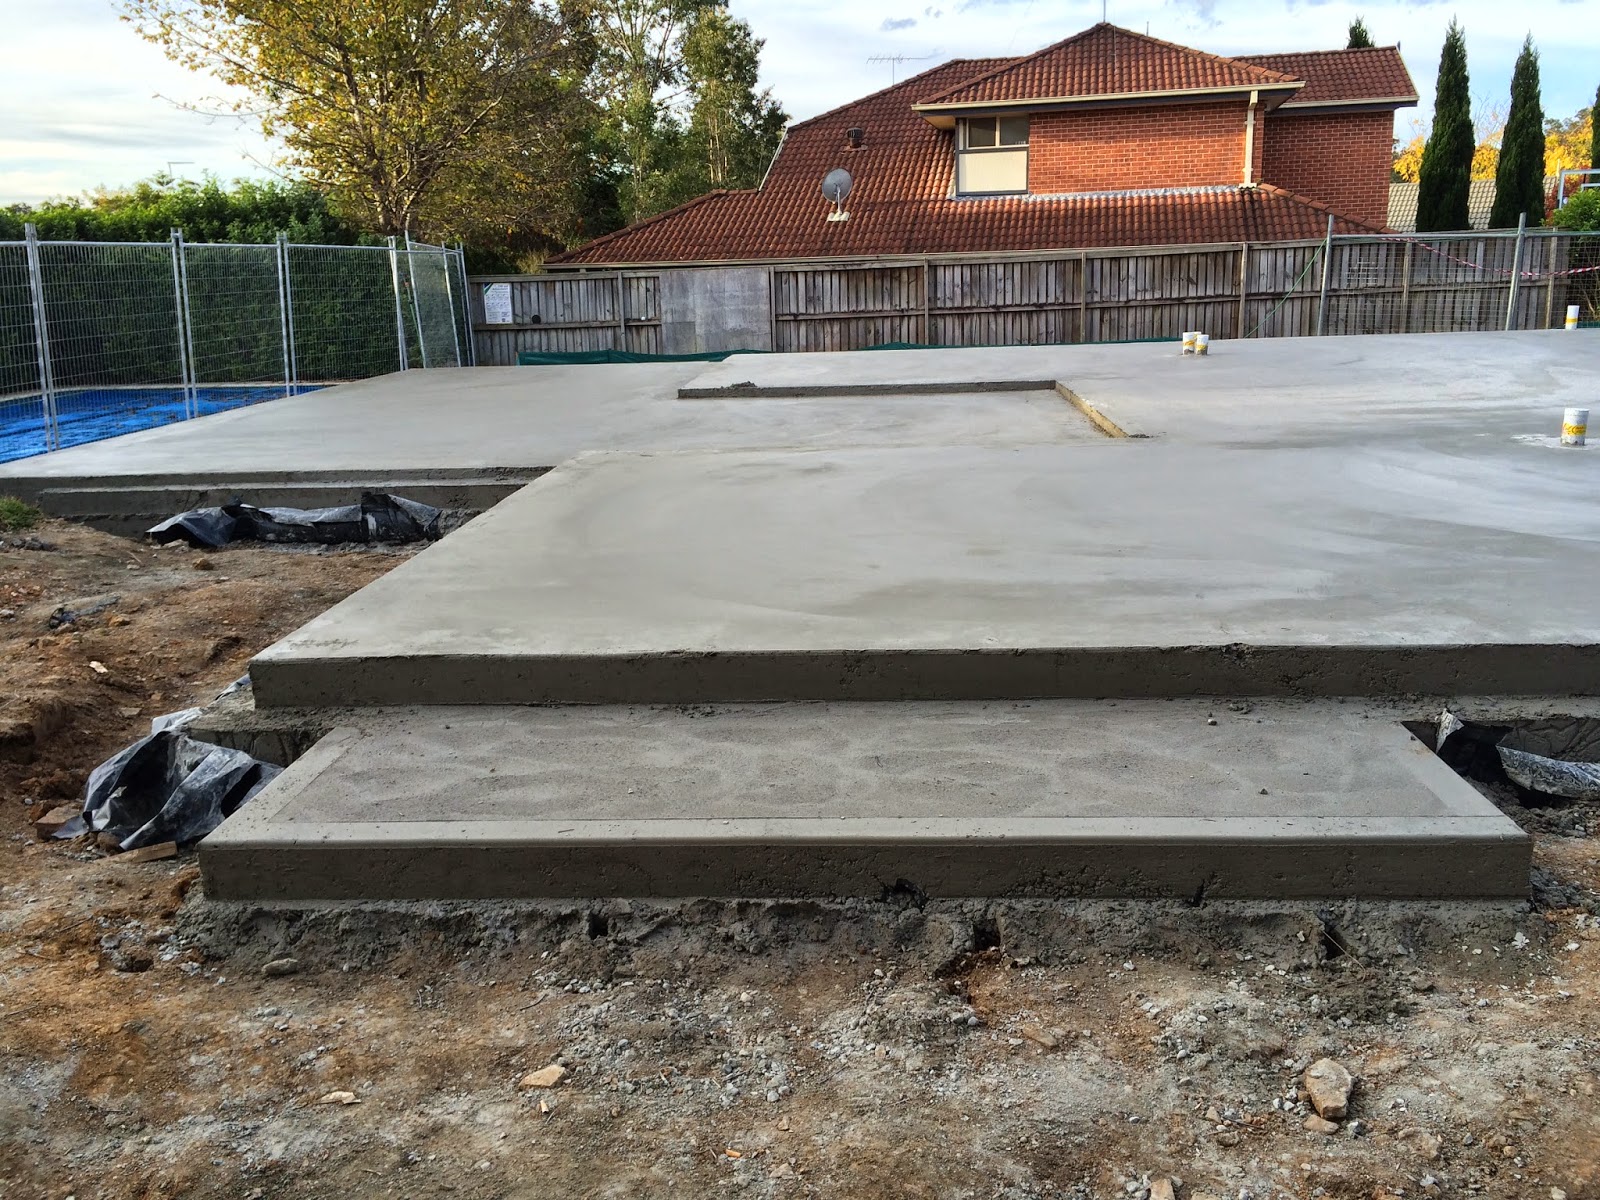
The slab was poured on Wednesday 20th May.

This is a very exciting milestone! It was interesting to see the whole thing play out and now we get a great feeling for the size of the rooms and house as a whole now.

After the last post we saw the finishing of the steel work, additional formwork added for the different levels and higher sides, and Termite barriers put in place (as shown with the tape around all drainage pipes).

The slab pouring day started very early with the concrete being pumped from 7am sharp for what was a long a busy day for the concreters. Approximately 7 loads of concrete were delivered!

The next steps are the external drainage installation and to erect the frame, window, and roof trusses...

The story in pictures is below:-

Final Formwork ready for slab pouring
Concrete Truck in action
Trailer-mounted boom concrete pump
Laying the slab
Completed slab - front


Completed slab - rear
Completed slab - Alfresco stairs, Northern side

Completed slab - Front porch
Completed slab - Garage
Completed slab - Rumpus
Completed slab - Alfresco
 
Completed slab - Water tank

Completed slab - Alfresco, rear

Completed slab - Laundry / Drainage

Friday, 15 May 2015

Internal drainage, Formwork & Steel installed

Some serious progress has been made this week... The concretors have been doing a exceptional job! Provincial use a firm called Solid Concrete with Tony and team. We believe the slab will be poured next Wednesday.

Over the past week the following has been done:-
  • The ground has been prepared and edge formwork constructed.
  • The under-slab drainage installed
  • Laying the plastic sheeting concrete underlay
  • Fix reinforcement in the beams using steel mesh at the bottom
  • Fix reinforcement in the slabs using steel mesh at the top
Next steps if my research is correct are:-
  • Termite Barrier Installed?
  • Pour and compact the concrete
  • Finish slab surface
  • Cure the slab 


Sunday, 10 May 2015

Piering done

Since our last update we have had record rain and storms across Sydney which resulted in a very muddy worksite and no progress. Unfortunately the sedimentation barriers went up after all the rain so our pool suffered as mud flowed over the edge and resulted in very muddy water. We have a pool cover over the pool and power provided by a neighbour for the filter to keep running in the hope we can keep the pool in a reasonable condition - which had been done successfully over the previous winter with no maintenance.

After a few weeks delay we got the call from the concretor that they were ready to do the piering on a day my wife and I were due to be overseas - so my parents were left to oversee things.

We heard great things about the concretors from many others building with Provincial and this was reflected in what we have seen so far as well. The work seemed to be done to very high standard with a lot of transparency on what was going on.

The transparency was also there to facilitate the measuring of the lineal metres of concrete used in the 400mm piers which often go over the allowance in the tender. Ours unfortunately was no exception, we had allowances for up to 90 lineal metres and ended up with 125 lineal metres. At $85 per extra lineal metre this means we are up for close to $3,000 extra unfortunately...

Our site looks like we have a serious mole infestation - it seems quite lumpy with lots of mounds of soil compared to other sites we have seen after piering - hopefully this is OK.

In our understanding the piering process was...
  1. Mark out the house on the site and location of all the piers
  2. Drill Piers to rock level
  3. Mark concrete fill level
  4. Certifier check
  5. Measure depth of each hole to calculate concrete required (with owner) and order
  6. Pump concrete into each hole via pumping truck and a long hose
Next we look forward to the internal drainage to be installed, followed by the formwork and steel for the concrete slab to be poured.

Marking the outline of the house
Concrete Truck and Pumper in action
Filling the 101 400mm piers with 125 lineal meters of concrete